Homemade Xmas cards with masking tapes
It’s Christmas season and about time for us to prepare our homemade greeting cards. And like every year we are handcrafting them. This time we decided to use our numerous masking tapes I collected over the last months.
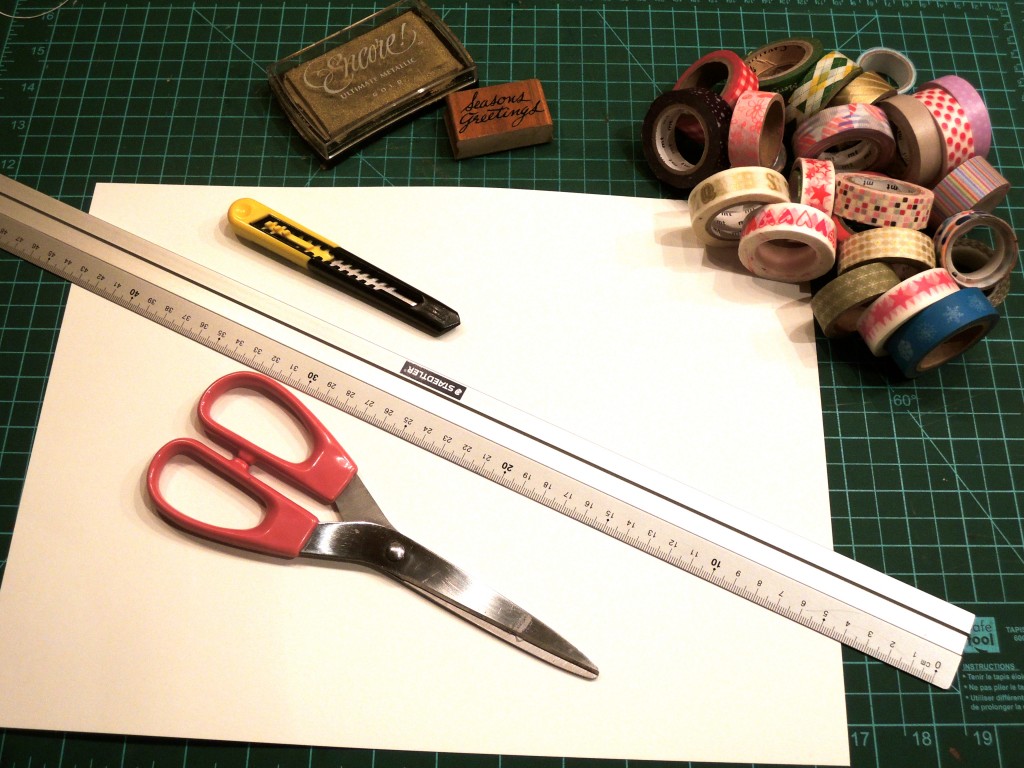
Here what you need
- Different kinds of masking tapes
- Several pages of drawing paper
- Cutting mat
- Cutter / pair of scissors
- Ruler
- Stamp
- Ink pad
- Envelopes
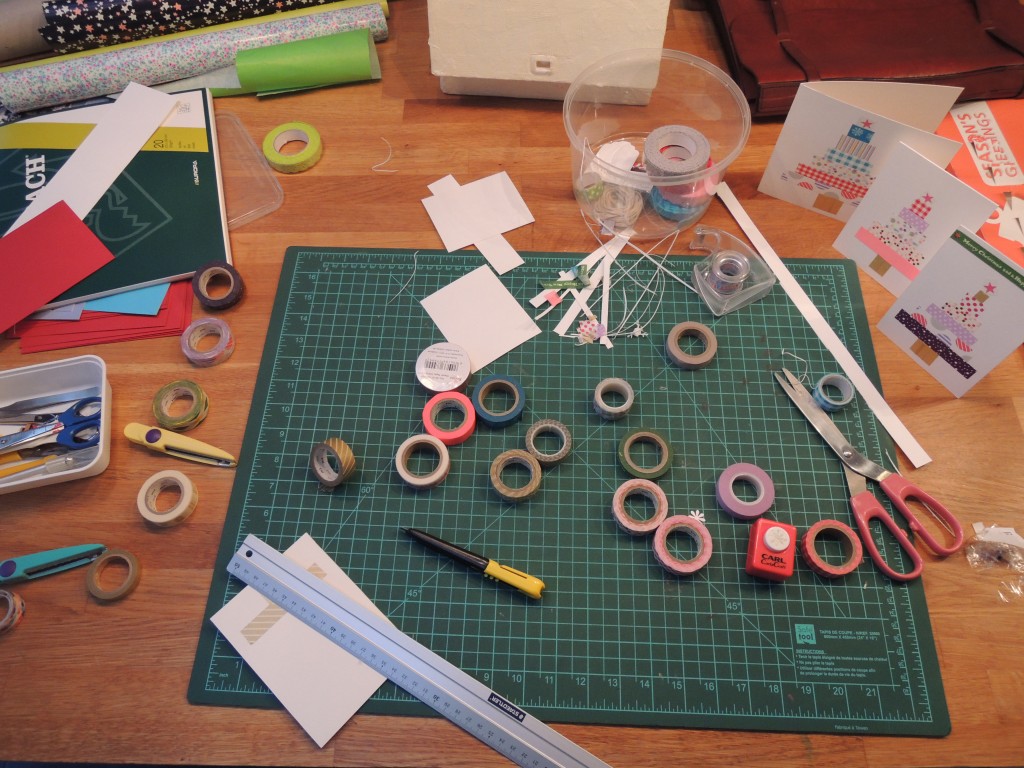
First of all, measure the different envelopes you’ve got to get the sizes for your cards. Cut the drawing paper with the ruler and cutter on the cutting mat (to avoid eventual cracks in your desk) to the size of your cards. As we have different sizes of envelopes, our cards also are cut in different sizes and folded in 2.
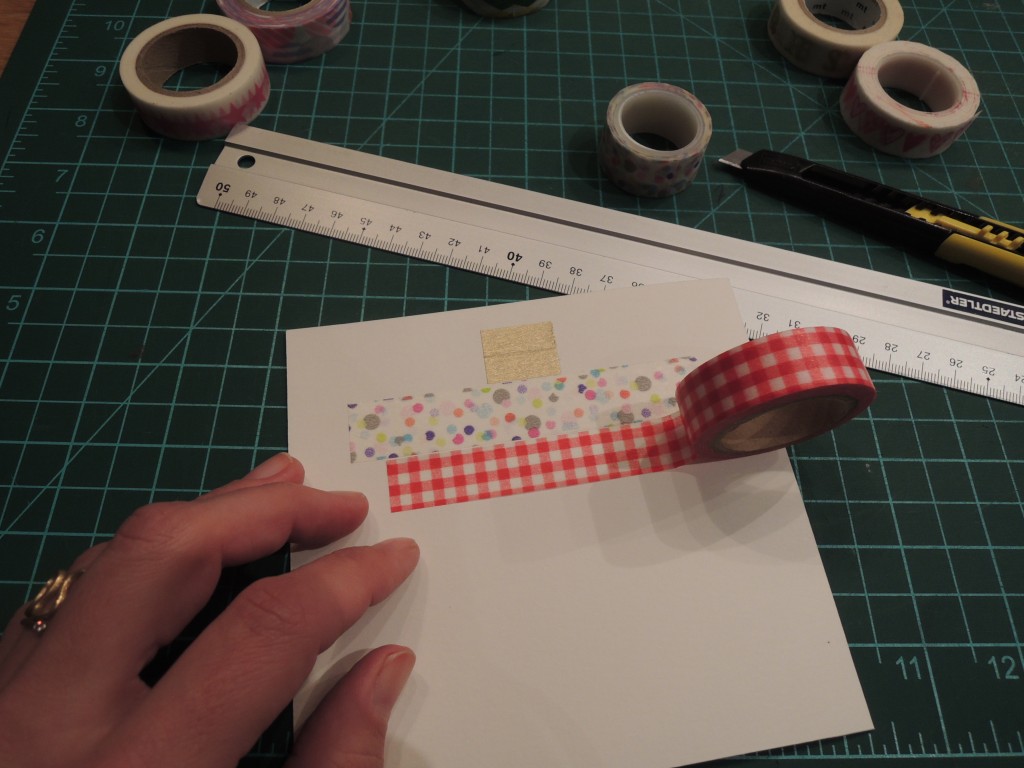
The front of the card is going to be decorated with a Xmas tree using the different kinds of masking tapes. For the trunk of the tree, we use golden tape without pattern. For the different parts of the tree, use various kinds of masking tapes that you cut into strips of several sizes. Then paste first the long strip over the trunk, than on top a smaller strip, followed by a smaller one… until the strips form a tree. We paste a star on top of the tree with masking tape. You can also use a star-shaped stamp or draw a star to finish the tree.
To finish the card, you can either write the seasons greetings by hand or use, as we do, a stamp with the text. Now you just have to sign them and send them to your friends and family!

Season’s greetings!

Fredke
I’m Frédérique, fortysomething, mum, maker and craft blogger with a penchant for chaos...