Tutorial: reversible bib with a pocket
Today, I am showing you how to sew quite quickly and simply a bib with a pocket for your little one. The shell will catch the rest of the food, which won’t fit in the little mouth and thanks to the coated cotton, you will easily wash the dirt off.
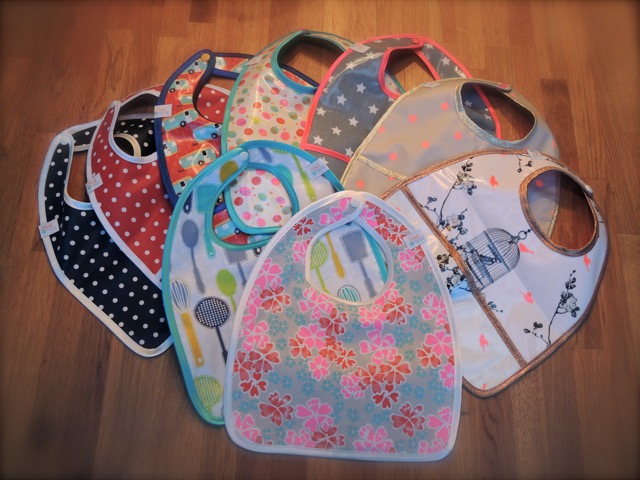
Lately one of my friends asked me if I could sew some stuff to be sold at the craft market they are organizing end of March to raise money for the Télévie campaign. I agreed directly to sew some of my kids’ stuff like monster cushions, crowns, hats & loop sets as well as colorful bibs.
Working on the bibs, I got the idea to put together a little tutorial to show you how I sew my bibs. And why not try them out by yourself?!?
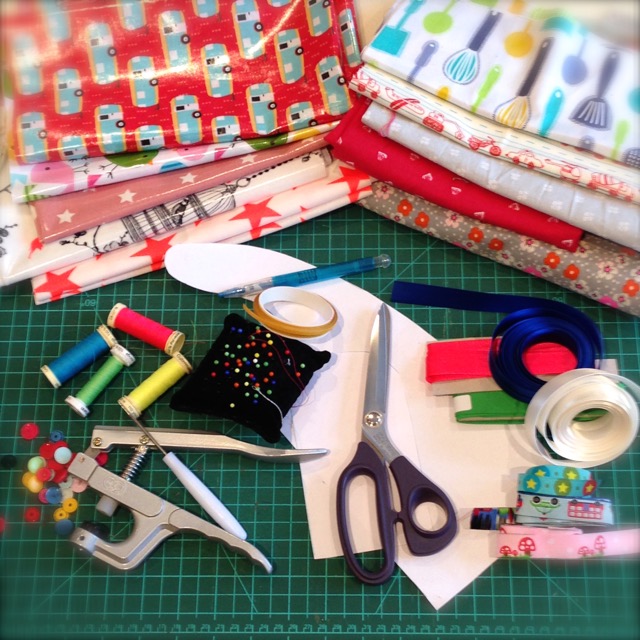
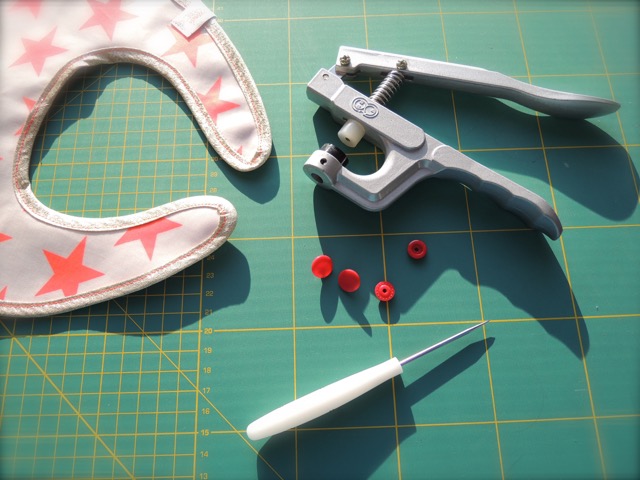
What do you need?
– sewing pattern
– coated cotton
– normal cotton
– bias binding (2,5 m)
– Kam Snaps (or piece of Velcro)
– Kam Snaps pliers
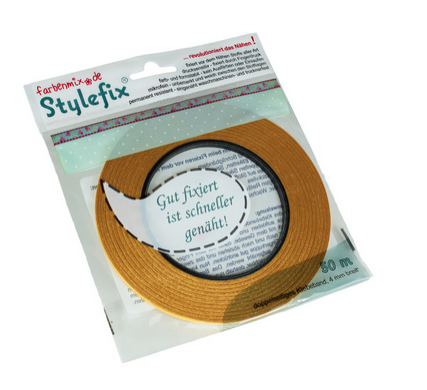
– Stylefix (narrow adhesive tape, perfect for fabrics)
– sewing scissors
– thread
– needles
and a sewing machine!
Tip: for the coated cotton you can use an old or used tablecloth you no longer need nor use! As well as for the back of your bib, you can also use some old shirts for example.
First of all, you’ll need to draft a pattern for your bib. You can, for example, use an old bib that you trace or search the web for one… Here’s a rough template of the pattern I’ve been using lately (it’s in an A3 format, which you will need to print out without page scaling). Cut it out along the black lines. Use paper scissors for this, as your sewing scissors will become dull with cutting paper. If you are creating your own pattern, pay attention that the pocket is a little longer than the width of your bib.
Now you are ready to cut the fabric. Fold the coated cotton in order to have the right side facing each other and parallel to the centre fold. Place the sewing pattern on the center fold and draw around it. Then you can cut out the bib along the drawn lines. Don’t forget to cut out the pocket twice.

Then take the normal cotton, for the backside, fold it paying attention to the center fold. Fix the sewing pattern with needles to the cotton and cut it out.
This is how it should look when the fabric is expanded.
Fix the pocket pieces together with Stylefix, the wrong sides facing each other, so both right sides are outside. Pay attention not to put the Stylefix on the parts you will sew afterwards ’cause the glue will make the needle of the sewing machine quite sticky.
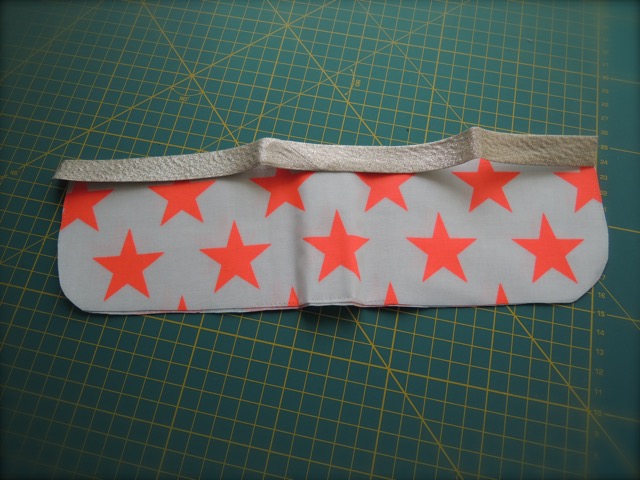
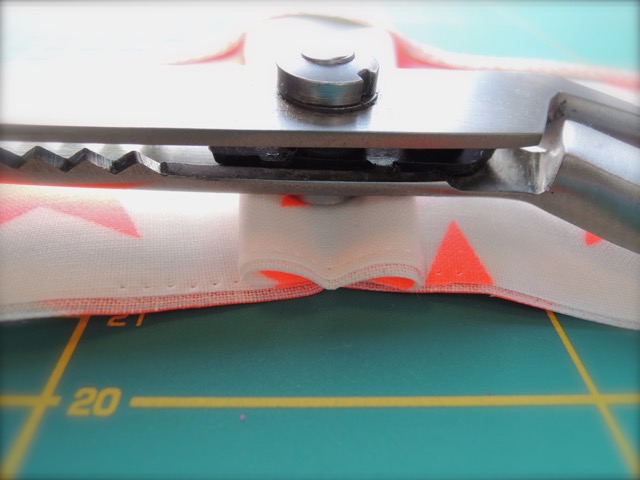
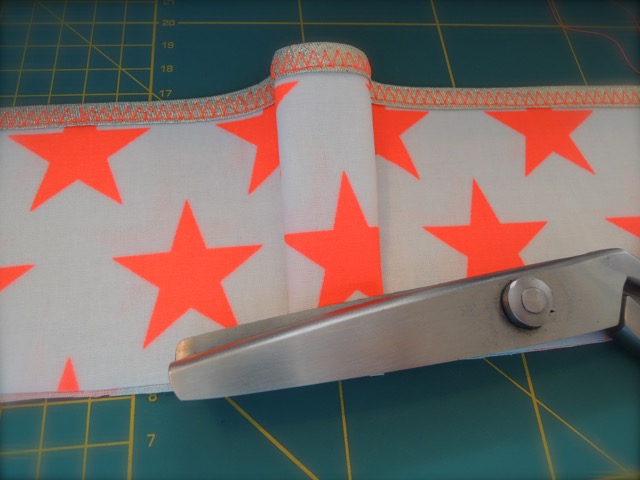
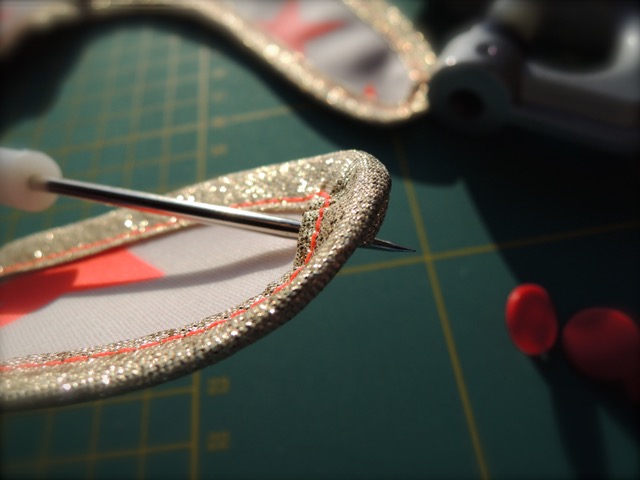
Take the bias and cut it unto the needed length of the pocket. Place the bias on the top of the shell and cover the two sides of it. Sew the bias tape in place, using a long straight stitch.
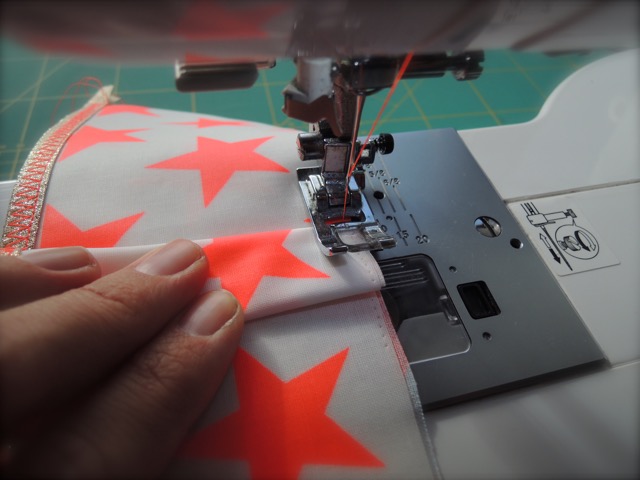
Now we have to prefix the pocket to the coated bib. For this, first kink the pocket in the middle and mark 1 cm right and left from the fold. Fold the left fold from left to right to the middle and the right fold from right to left to the centre. Fix the fold with a straight stitch inside the seam allowance. Overlay the pocket and stay stitch it in place at the bottom and around the outside edges.
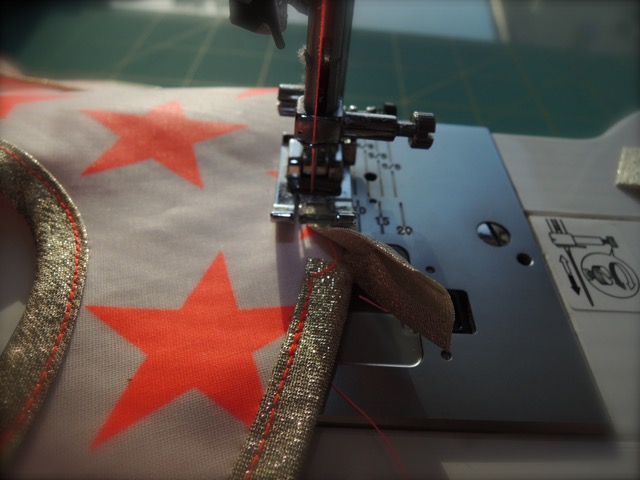
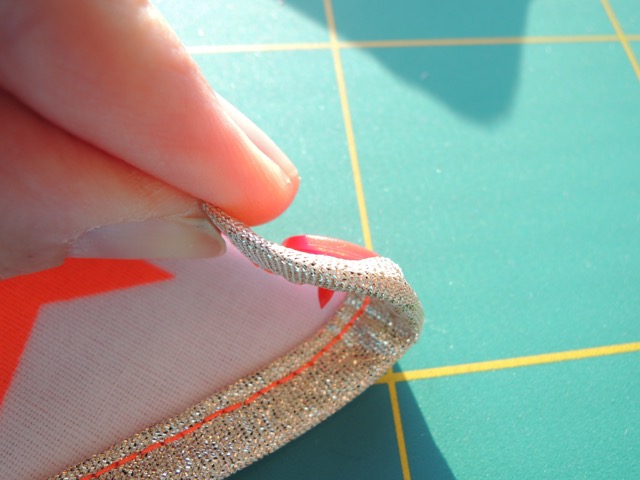
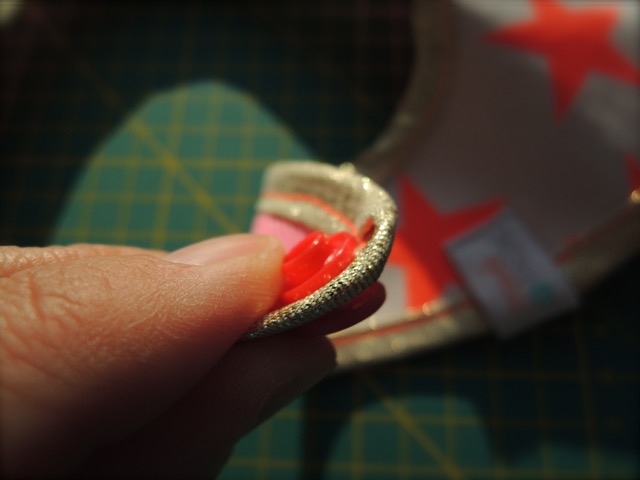
Turn the coated bib around and stick 2-3 strips of Stylefix on it. Position the fabric (which will be the back later), left to left. Then, fold the bias tape around the edge. I like to start somewhere on the top of the bib, where the Kam Snaps or the Velcro tape will be. Sew the bias tape in place with a straight stitch, working the bias tape around the bib as you go. For me it worked best to go really slow. Try to stay away as far from the edge of the bib as possible while staying on the bias tape, this to prevent ripping later. Keep going till you are getting close to where you started. Cut the bias tape off 1 cm more than needed. Fold it once and finish off.
In order to cover the bias binding, sew either your label or a piece of weaved ribbon over it.


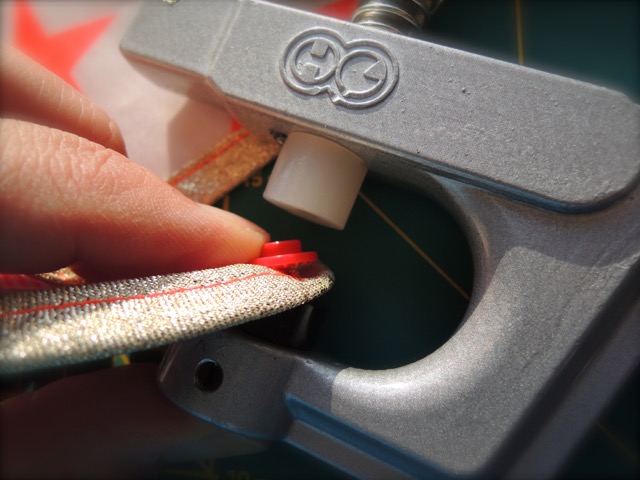
Attach the Kam Snaps or sew the Velcro pieces to the top ends of the bib.

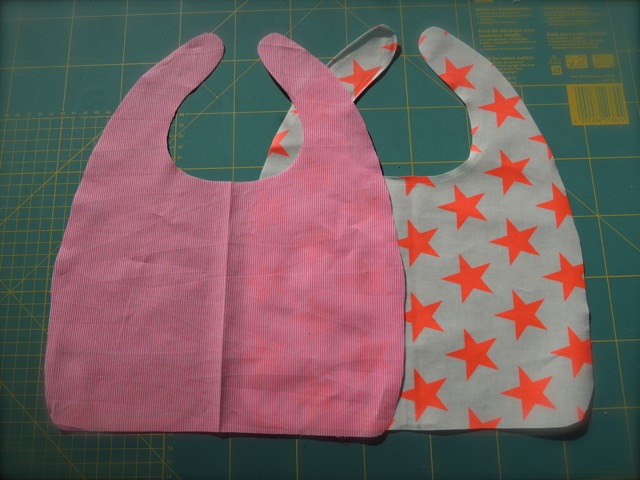
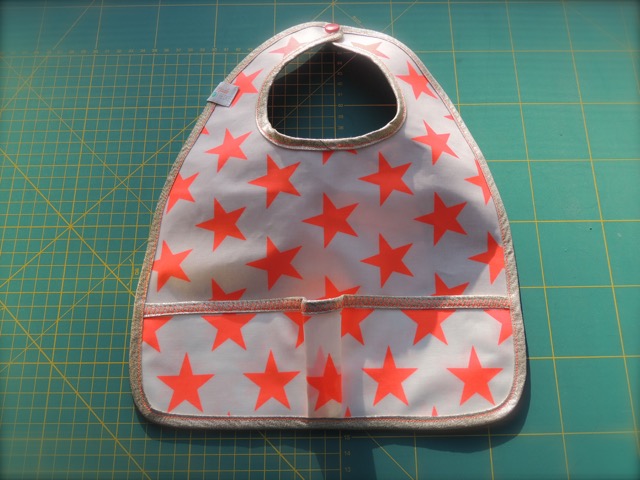
Your bib is finished!

Fredke
I’m Frédérique, fortysomething, mum, maker and craft blogger with a penchant for chaos...